10 Minute Tip
Now that your rotary cutters are all nice and sharp, let’s cut some strips!
Always press fabrics before cutting them, it really does help with accuracy and staying organized, especially when working with small pieces of fabric.
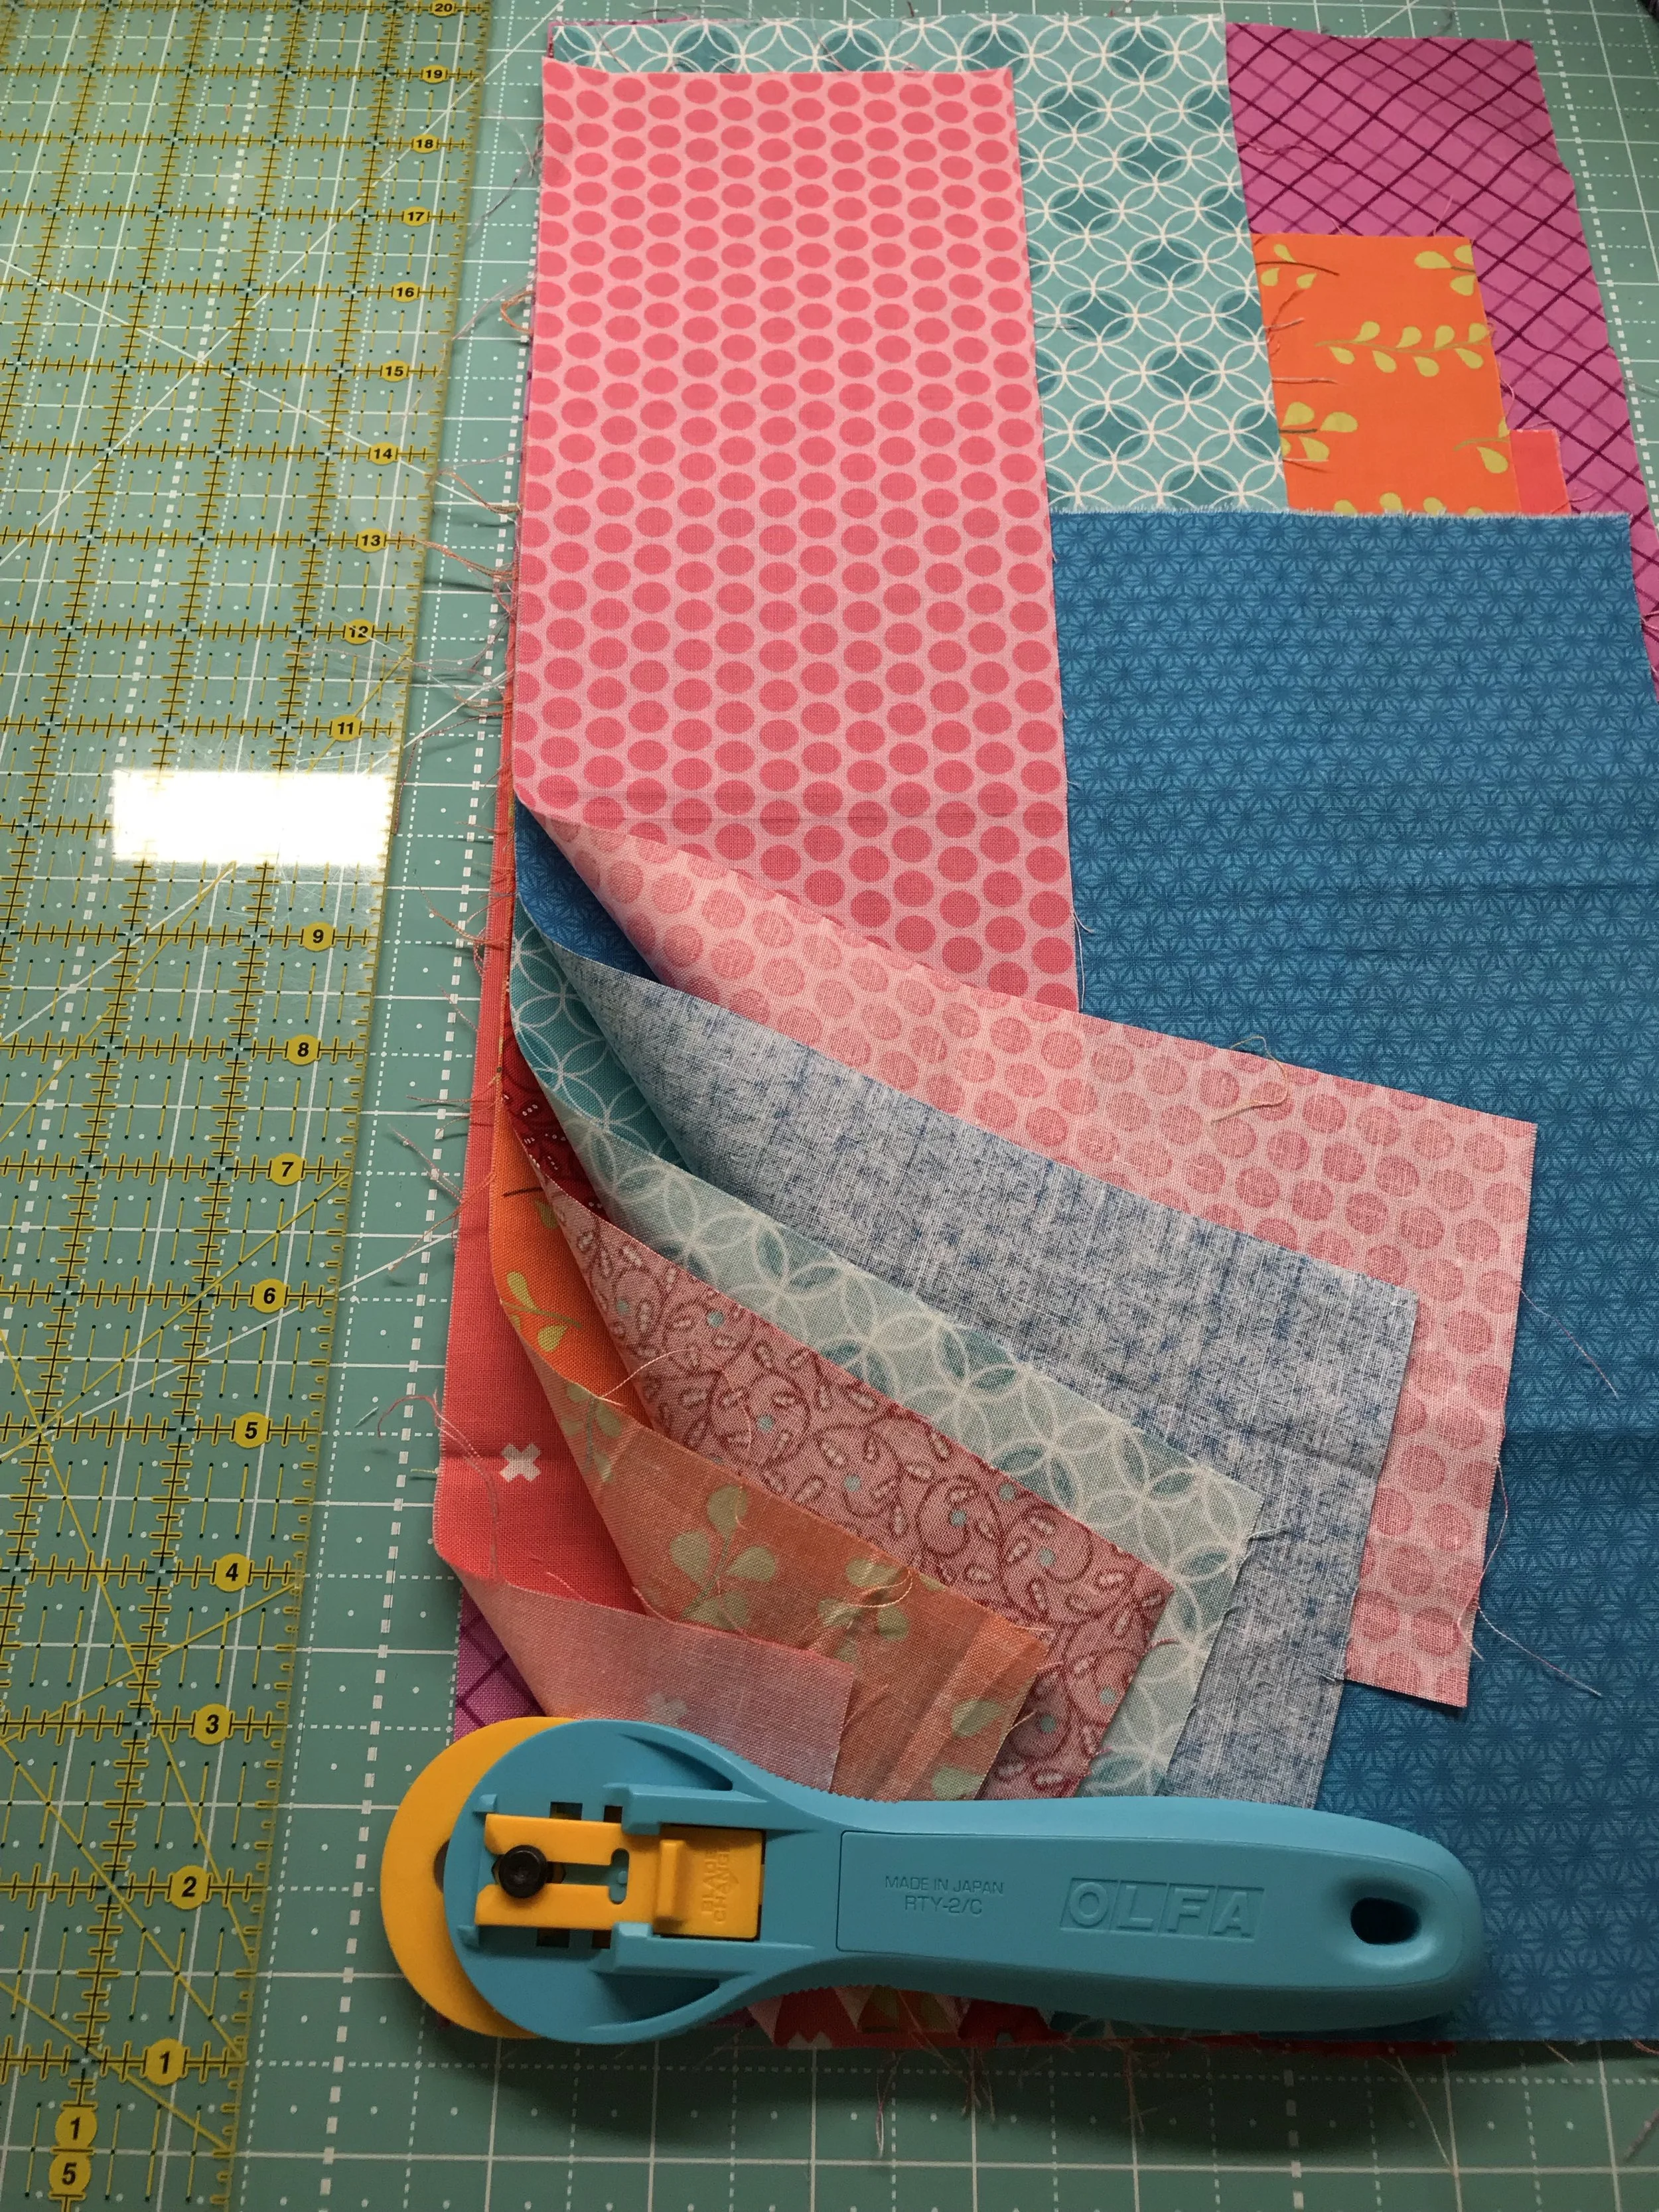
Layer fabrics with left sides aligned (right sides if you are left handed). Put the largest pieces on the bottom and the smaller ones on the top of the stack.
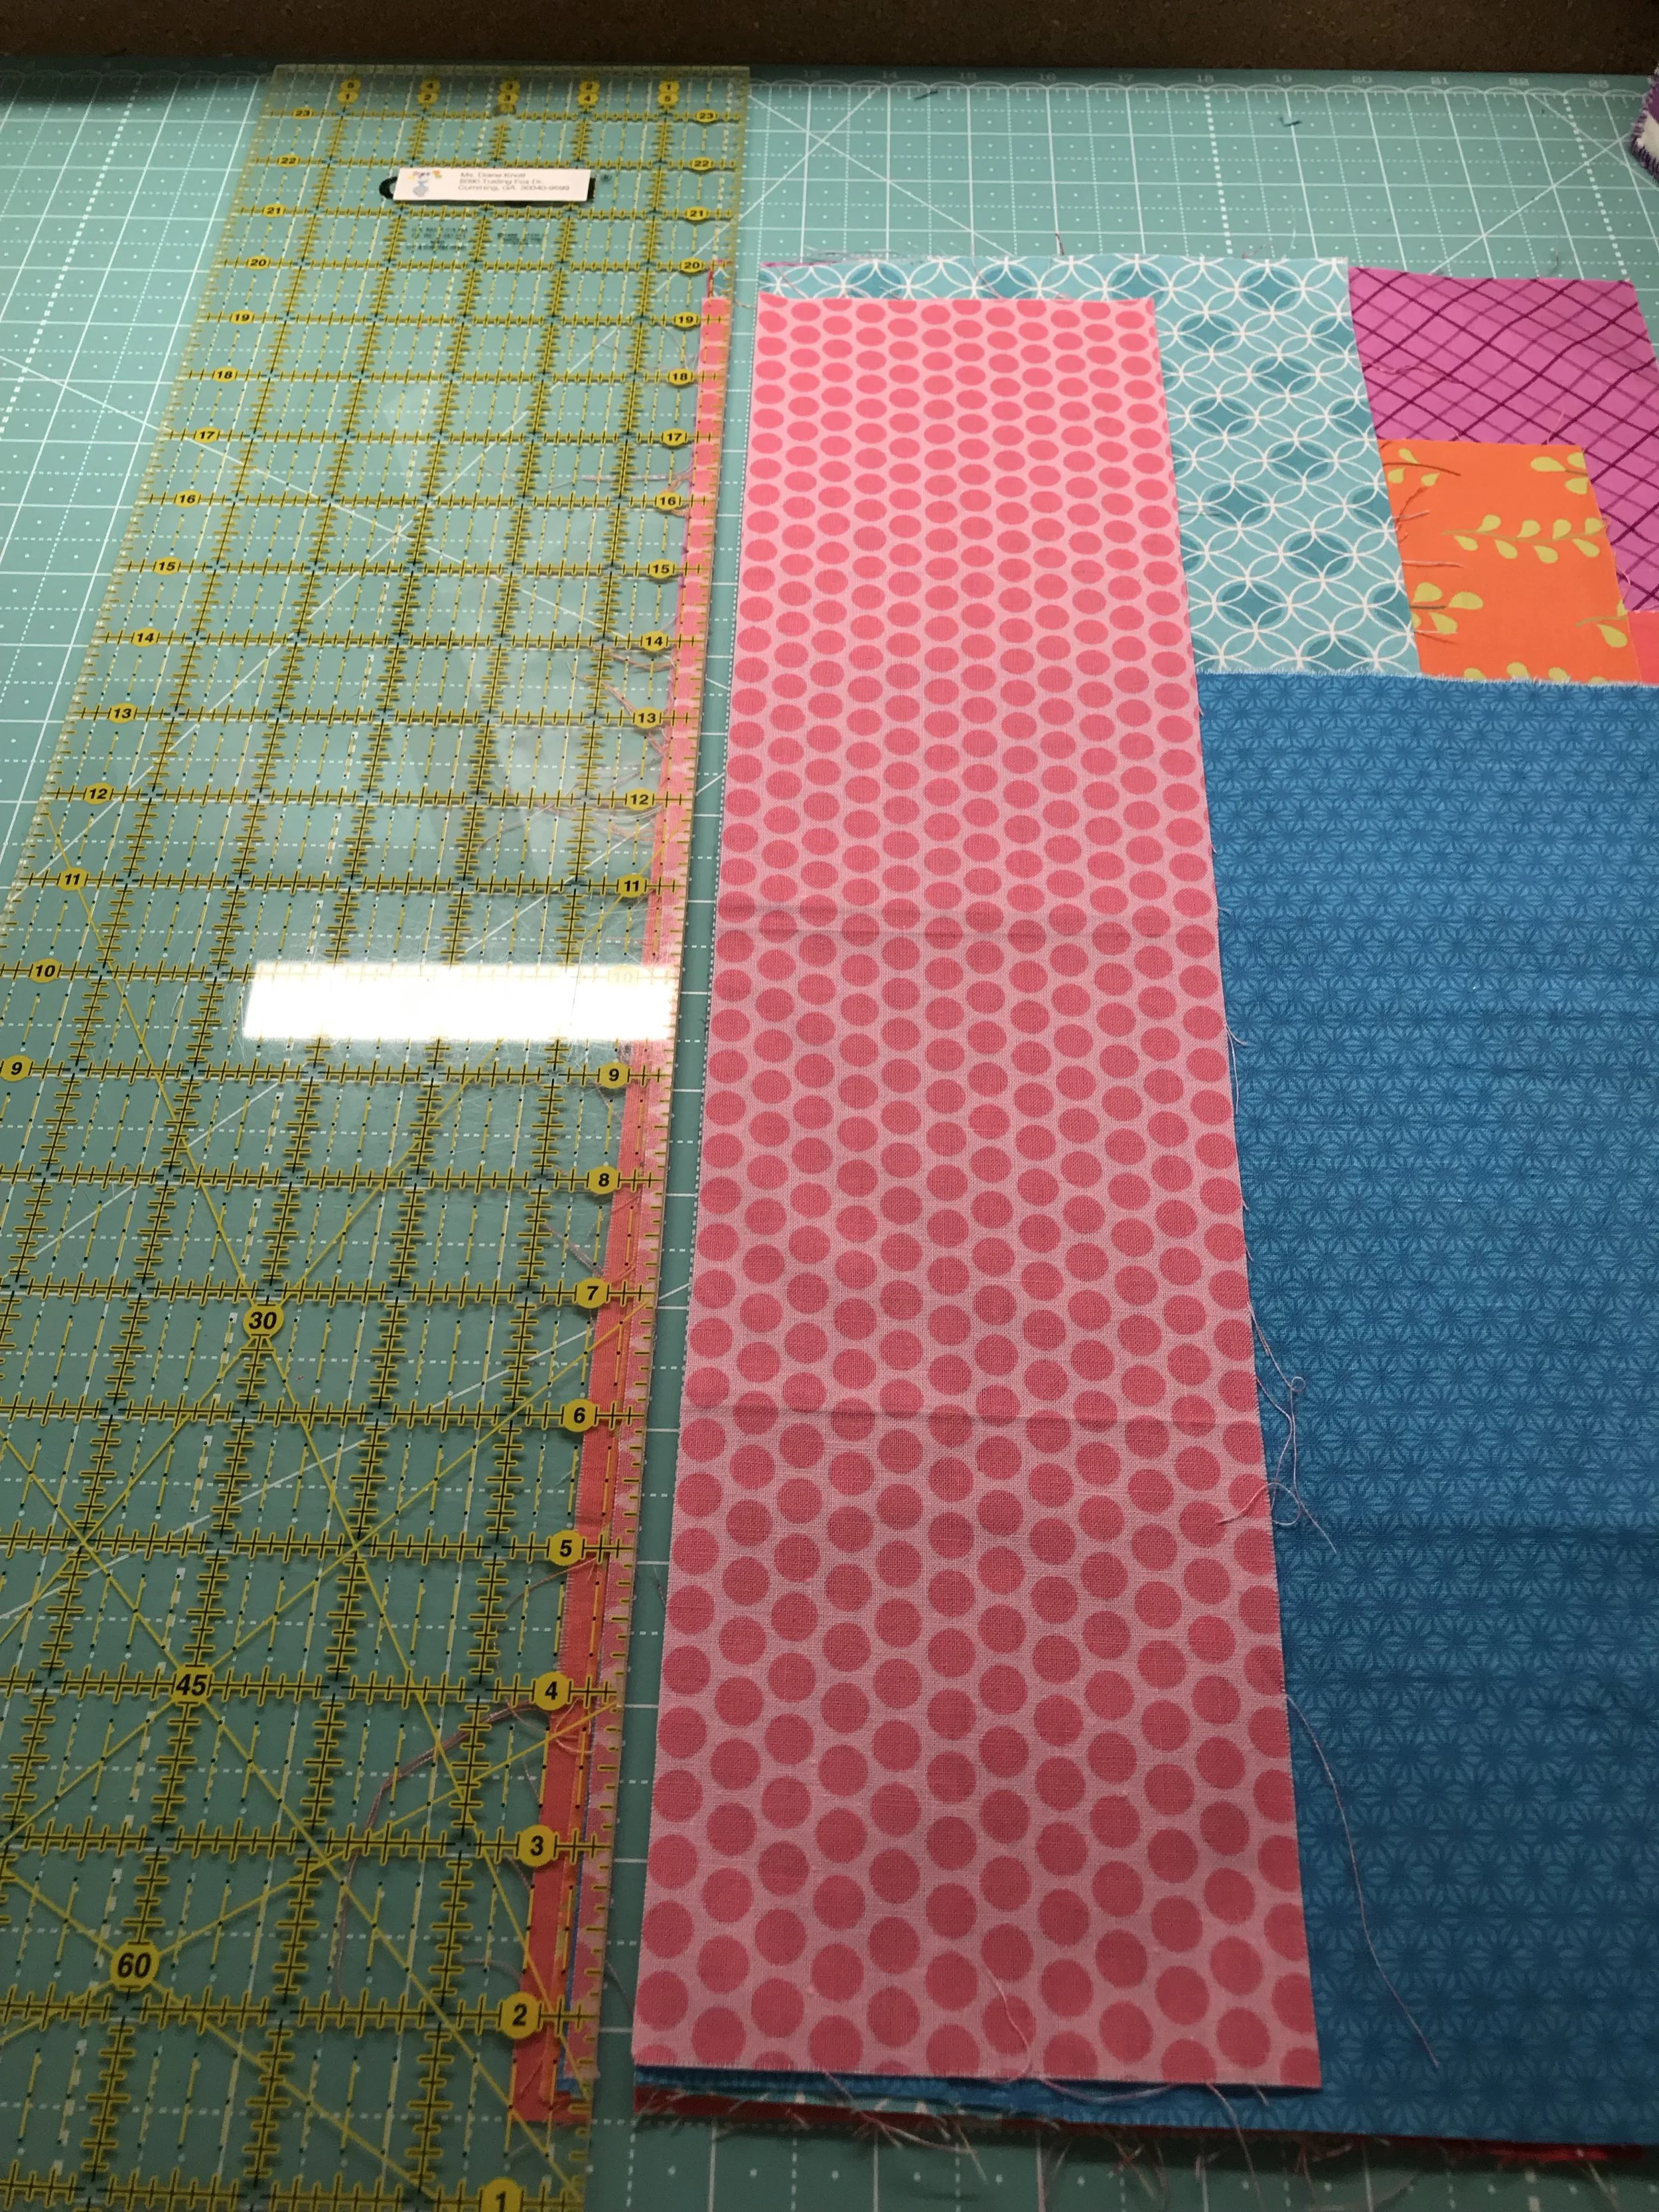
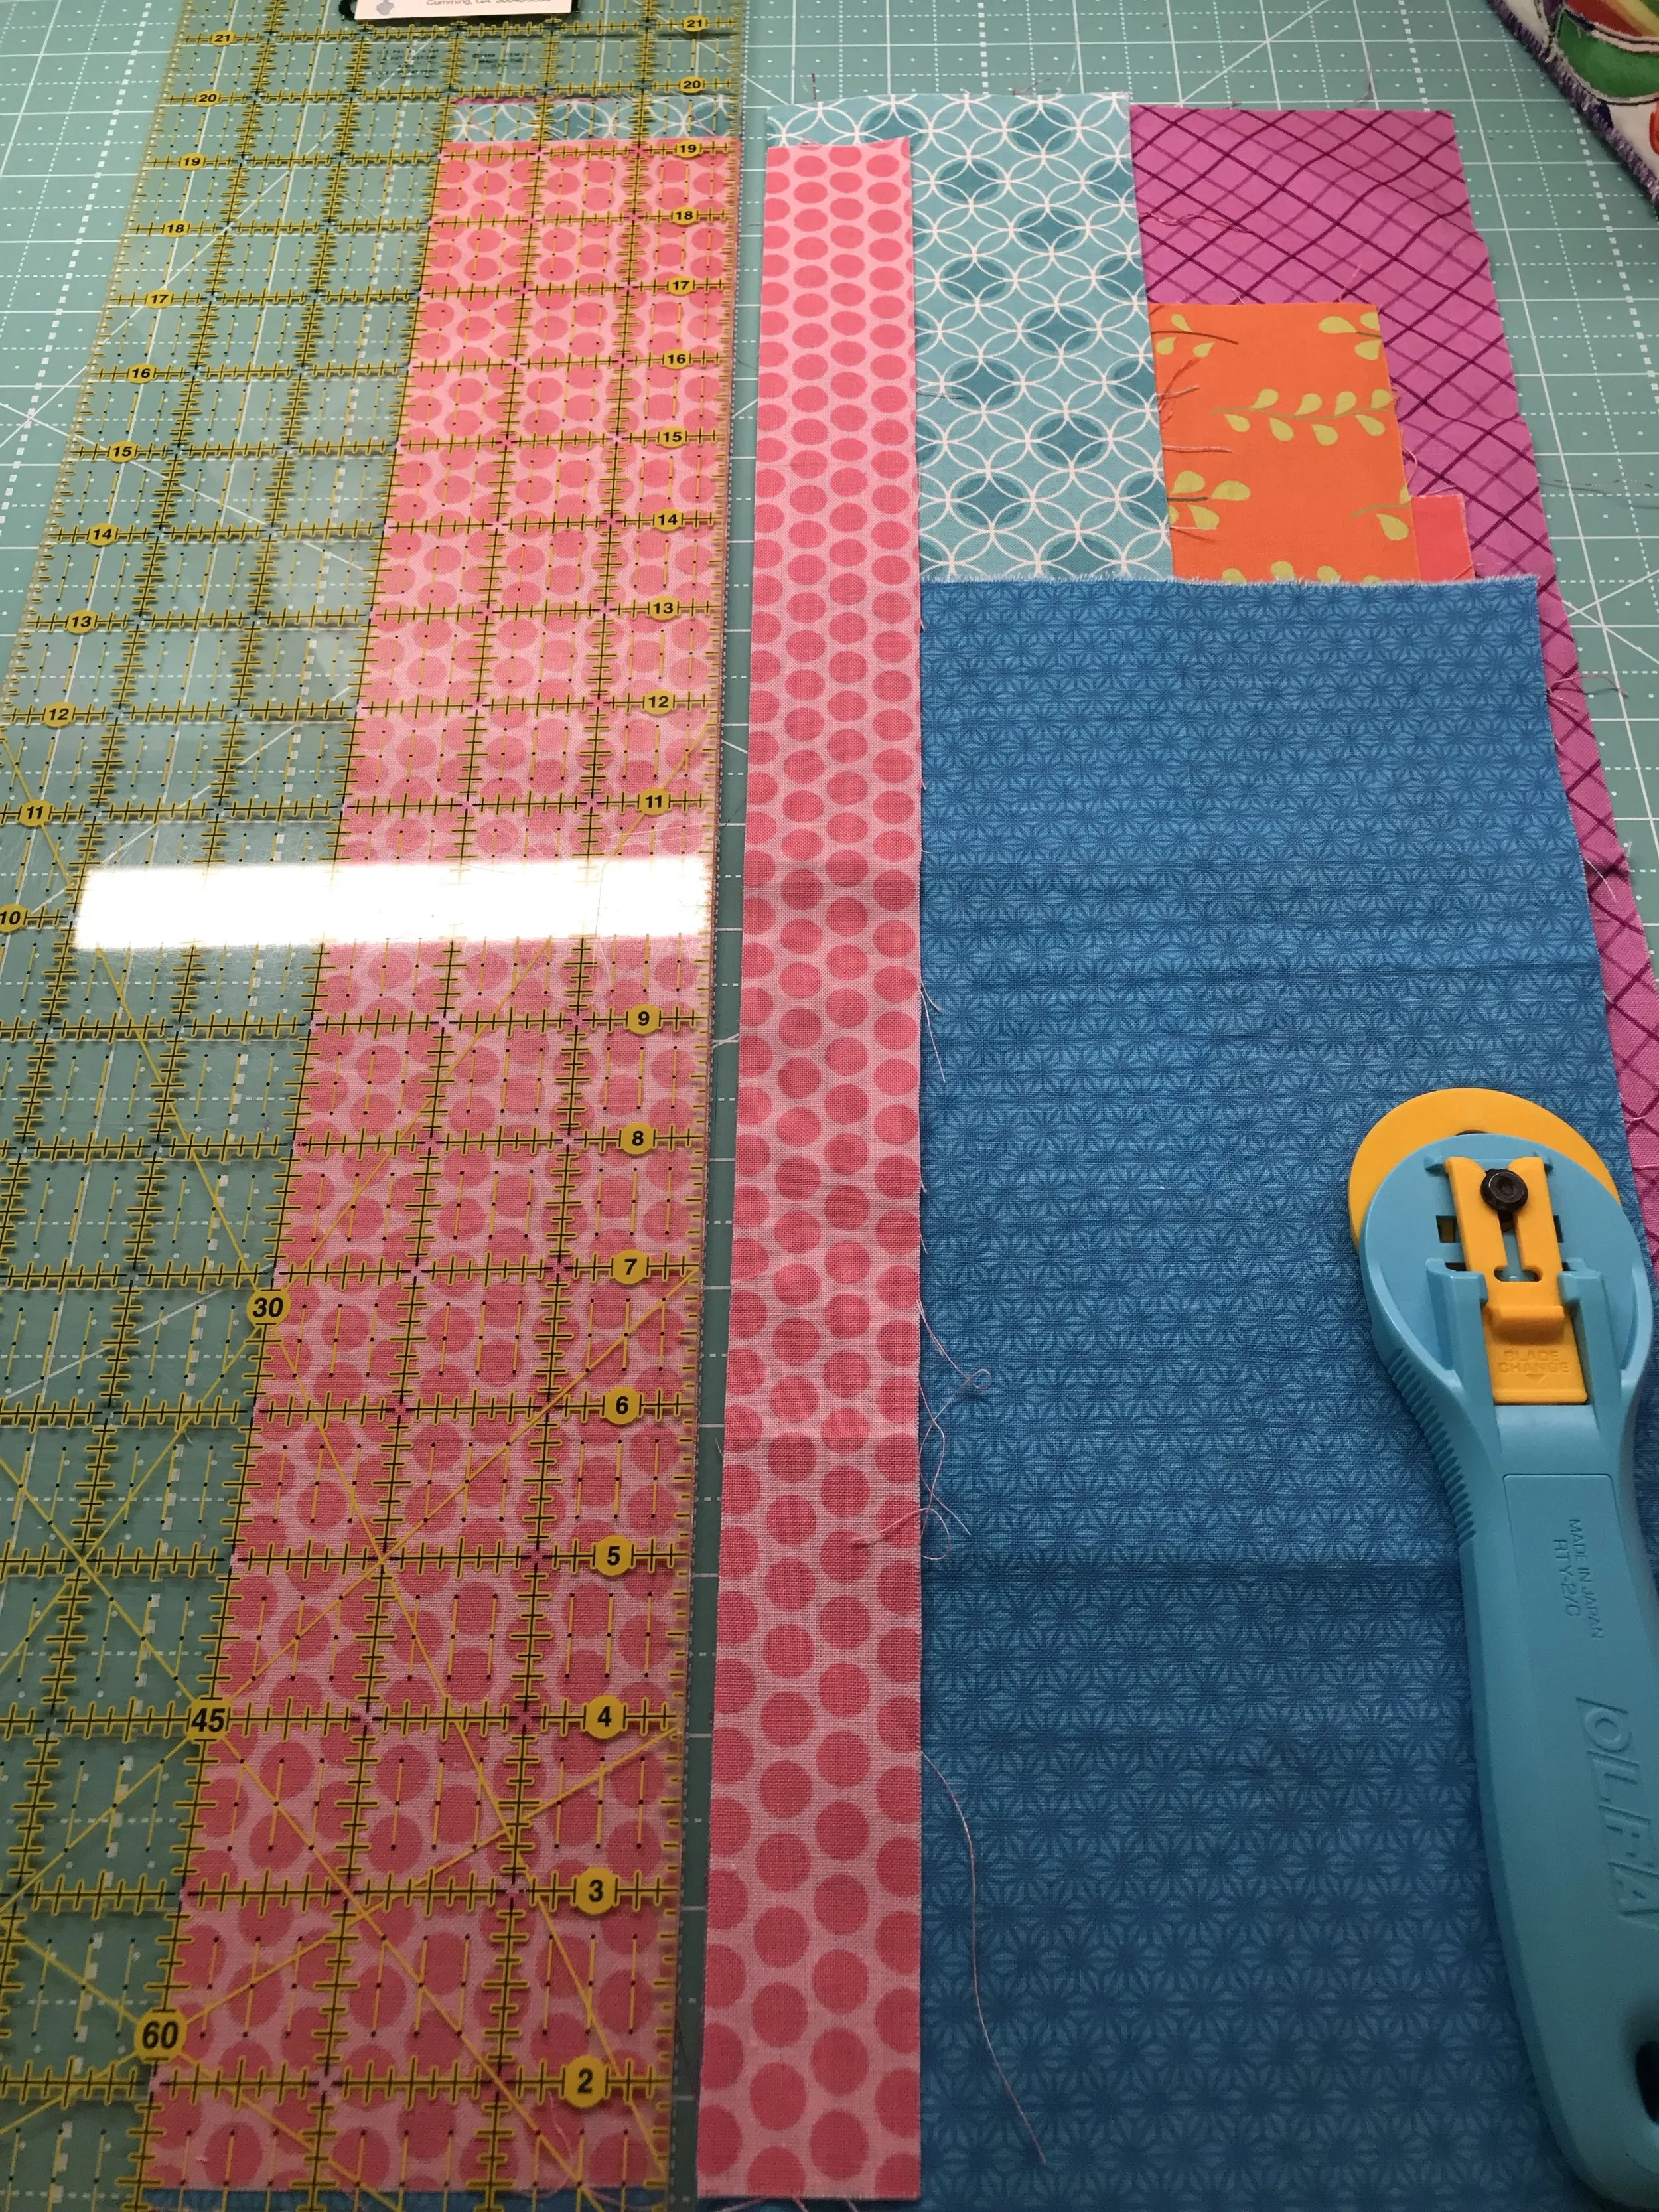
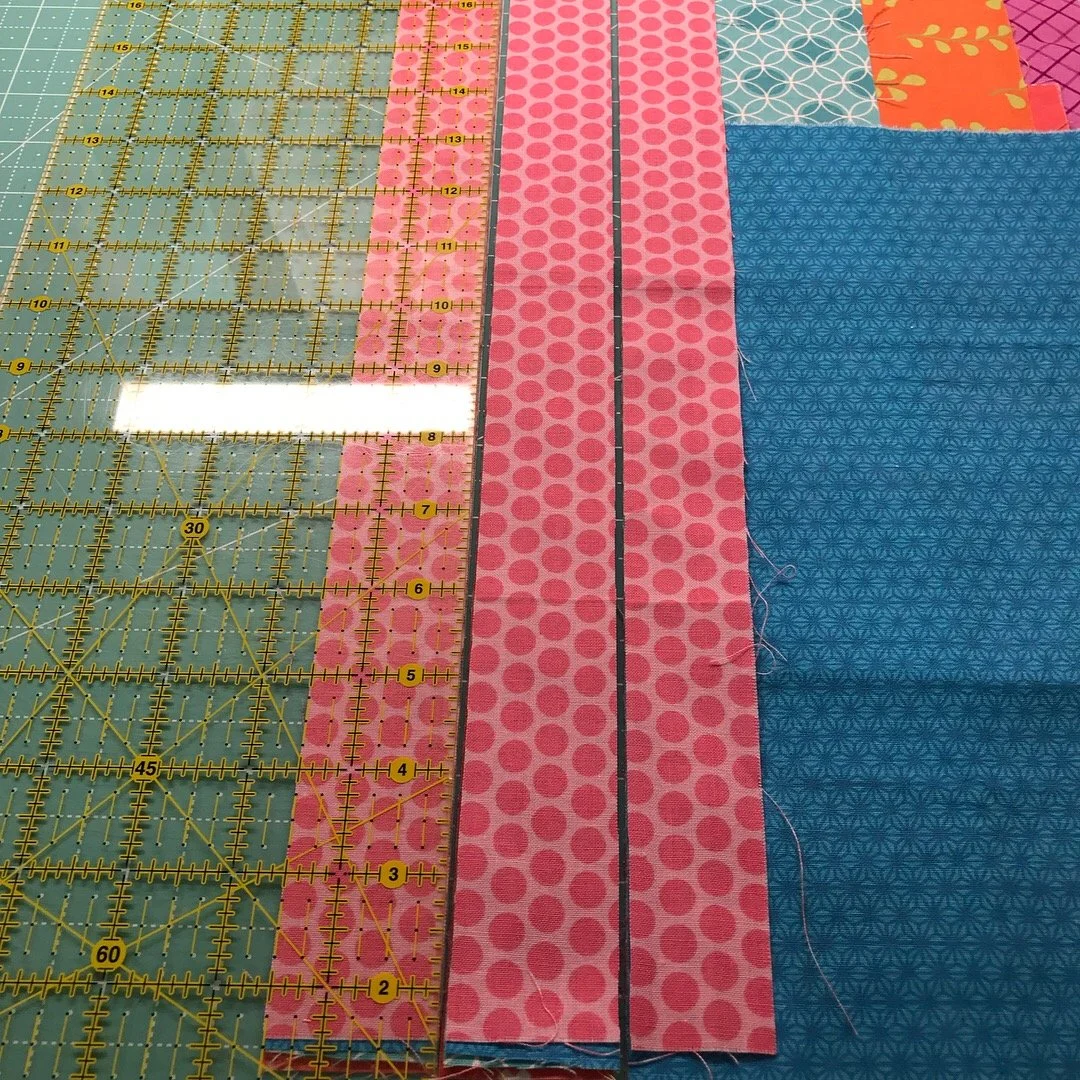
Trim the edges even using a rotary cutter and ruler. I always make the first cut twice as large as I need it, so I can slide my rule back to the left for the 2nd cut. This helps keep the cut lines straight.
Check to make sure the marking on the ruler is on top of the fabric, not off to the left of the edge of the fabric. Consistency is key!
Remove the leftover edges of the scraps as you work your way across the stack.
Scoring the fabric stack will prevent the fabric from shifting. Start the cut with the rotary about 1” from the edge and begin by pulling the rotary toward you. Once the edge is cut through all the layers, cut the rest of the strip by moving the rotary cutter away from you.
Hand placement on the ruler is important. Lay your left (or non cutting hand) flat on the ruler and let your pinky and your ring finger rest on the cutting mat just off the left edge of the ruler. This will prevent the ruler from sliding. Once you have completed the cut more than 2-3” beyond your fingertips, you will pause the rotary, left your left hand and replace it further up the ruler. This will give the ruler more security in the area where the rotary cutter is moving along the edge.
Your scraps will be a stack of beautiful strips in no time! I cut and save strips in 1 1/2”, 2” and 2 1/2”. But you can certainly cut them in the sizes you use most.
If you would like to see a video of this, check out my Instagram HERE.
Enjoy Every Stitch! Diane


